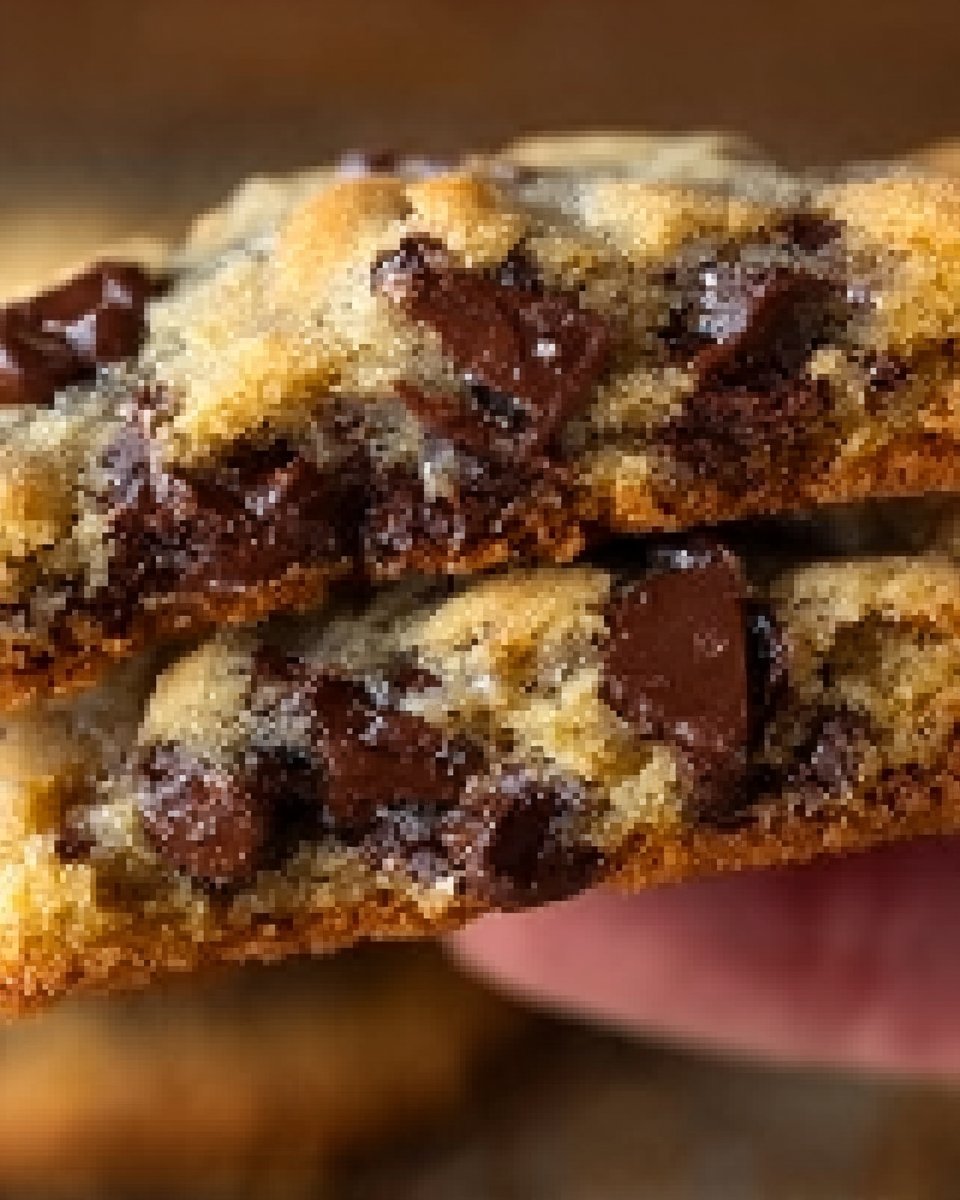
Ultra Thick Bakery Style Chocolate Chip Cookies: Crispy Edges, Gooey Centers, and Loaded with Chocolate!
Ah, chocolate chip cookies! If there’s a dessert that can consistently turn my gray days into sunlit afternoons, it’s definitely these Ultra Thick Bakery Style Chocolate Chip Cookies. I can remember the first time I tried making these little morsels of joy; I had envisioned something glorious. You know—the kind of cookies that could rival a bakery, with perfectly crispy edges and a luscious gooey center overflowing with chocolate. The kind that makes you nod your head in satisfaction after every bite, almost as if you’re giving a little high-five to your inner child.
Growing up, my mom had a special knack for baking the best cookies, and she’d usually whip them up on those lazy Sunday afternoons when the light streamed through our kitchen window. We’d sit on the counter, cookie dough smeared across our faces, giggling, while the aroma wafted through the house. The kitchen felt like a warm hug, all while the smell of butter and sugar created an atmosphere bursting with comfort. This recipe is my way of trying to replicate that experience, even if I am now the one standing at the stove, probably with flour on my cheek as well.
Honestly, the first batch I tried making turned out… well, let’s say, unexpected. Flat little pancakes! I thought it was all over, but I kept going. And boy, I’m so glad I did. Let me tell you, nothing compares to holding a warm cookie in your hand and hearing that soft, crackly sound as you break it apart.
These cookies are perfect for all occasions—whether it’s cozying up for movie night with your partner or surprising your kids after school with a special treat. They offer both nostalgia and a contemporary twist with the abundance of chocolate. Just thinking about them makes me want to whip up another batch.
Why You’ll Love This Recipe
- Decadent Indulgence: With crispy edges and gooey centers loaded with chocolate, these cookies are like a hug in dessert form.
- Perfect for Meal Prep: Make a big batch during your weekend, so you have those delightful cookies ready for those easy weeknight dinners.
- Kids Approved: These cookies are a hit with all ages. They are perfect for getting little hands involved—who doesn’t love a little cookie-making chaos?
- Keeps Well: If you can resist the temptation to eat them all right away, these cookies stay delicious for several days when stored correctly.
- Versatile: Add in nuts, swap out chocolate types, or layer in some sea salt to make these cookies feel fancy or unique.
- Feel-Good Vibe: Seriously, just one bite and you’ll feel like you’re wrapped in a cozy blanket.
What Makes This Recipe Special?
What sets apart these Ultra Thick Bakery Style Chocolate Chip Cookies from your run-of-the-mill recipes is the perfectly balanced ratio of all the ingredients. Each component plays a pivotal role, from the buttery flavor to the richness of the chocolate. And the secret? Chilling the dough! Trust me, that’s where the magic happens. It gives the cookies more complex flavors and that deliciously doughy center we all crave.
Plus, who can resist a little sprinkle of flaky sea salt atop those warm cookies? It’s like the chef’s kiss to elevate your cookie game!
Ingredients
- 2 large eggs: Adds moisture and helps bind everything together. Make sure they are at room temperature for better incorporation.
- 2½ cups all-purpose flour: The base of our cookies! Avoid overmeasuring to ensure thick cookies rather than flat ones.
- 1 teaspoon baking soda: Helps the cookies puff up and provides that ideal lift.
- ½ teaspoon salt (or sea salt): Balances the sweetness and enhances flavor.
- 1 cup granulated sugar: Creates a chewiness and adds sweetness to our cookies.
- ½ cup packed light brown sugar: For that rich, caramel flavor that elevates texture.
- 1 teaspoon vanilla extract: Brings a warm, comforting aroma—essential for any baked good!
- 14 tablespoons unsalted butter (melted and slightly cooled): Recomended for richness; I always prefer unsalted to better control the saltiness.
- 3 cups chocolate chips: A mix of semisweet and dark chocolate produces a dazzling, luxurious cookie. Feel free to experiment with mini chips or chunks for texture!
- Optional for topping: Extra chocolate chips and flaky sea salt; because why not go all in?
Pro Tip: Don’t use old ingredients, especially baking soda. Testing the freshness by adding it to vinegar can save a cookie disaster!
How to Make It Step-by-Step
Making these cookies is a delightful journey, and I’ll be your trusty guide!
Step 1: Mix the Dry Ingredients
Grab a mixing bowl and whisk together your flour, baking soda, and salt. Breathing in the fresh flour reminds me of my childhood kitchen—there’s something so pure about it. You want to be sure the baking soda is well combined so you don’t end up with any funky soda pockets.
Step 2: Prepare the Wet Ingredients
In another bowl, combine your melted butter, granulated sugar, brown sugar, and vanilla extract until it’s beautifully smooth. It’ll turn a lovely golden color, and the aroma? Oh boy! It smells like happiness. Then mix in your eggs one at a time until the mixture is velvety.
Step 3: Combine and Fold
Now, gently fold the dry mixture into your wet mixture. I always feel like a magician here, carefully combining two worlds. Use a spatula to make sure you don’t overmix; those lumps will be your friends.
Step 4: Chill the Dough
Here’s where the magic truly happens. Tightly cover the bowl with plastic wrap and let it chill in the fridge for at least an hour. Honestly, you can skip this step, but my advice is don’t. Trust me, it’s worth the wait! I’ve learned that the longer the chill, the thicker the cookies will be, so if you can, let it sit overnight.
Step 5: Preheat and Prep
Preheat your oven to 350°F (175°C). While it warms up, line your baking sheets with parchment paper. That way, you avoid the cookie catastrophe that comes with cookies sticking to the pan—trust me, I’ve been there!
Step 6: Scoop and Shape
Using a cookie scoop (or spoons if you want a workout), scoop out generous amounts of dough. Don’t be shy; these cookies should be hefty! Optionally, place extra chocolate chips on top of each cookie for that beautiful bakery look.
Step 7: Bake
Pop them in the oven for about 12-15 minutes. My preferred way to tell they’re done? The edges should be golden, but the middle will look a bit underbaked—that’s your secret signal for gooey perfection. The smell floating through your house will make it hard to resist peeking too often.
Step 8: Cool and Set
Once you take them out, let them cool on the sheet for a minute before transferring them to a cooling rack. This is your moment to appreciate your creation. When they’re cool (well, sorta cool; let’s be honest, warm cookies are the best), grab a plate and run to sit on your couch.
Tips for Best Results
- Don’t Overmix: When combining wet and dry ingredients, be gentle—overmixing can lead to tough cookies!
- Play with Chocolate: Don’t be scared to use all sorts of chocolate! I once added a handful of white chocolate chips, and it was a game changer—totally a sweet surprise!
- Dough Consistency: If your dough is too sticky, a little extra flour will help. On the flip side, if it’s too dry, a tiny splash of milk can save the day.
- Experiment with Add-Ins: Dried cranberries or nuts can create a beautiful flavor harmony with the chocolate.
Ingredient Substitutions & Variations
I get it—you might not always have every ingredient on hand. Here are some ideas if you’re feeling a bit creative:
- Butter: If you’re in a pinch, melted coconut oil can work too.
- Eggs: Chia seeds mixed with water can be a fantastic replacement for eggs—just make sure to let it sit for a few minutes to thicken.
- Flours: Want a gluten-free version? Substituting with gluten-free flour designed for baking can work, though it can slightly alter the texture.
- Chocolate Variety: Try using peanut butter chips or even mint chocolate ones for a festive twist.
Directions
- Preheat your oven to 350°F (175°C) and line baking sheets with parchment paper.
- Prepare your dough as outlined, chilling it for optimal thickness.
- Scoop generous portions onto baking sheets and add extra chocolate chips on top.
- Bake until golden around the edges but soft in the center.
- Let cool before diving in—this is the hardest part!
I swear, pairing one of these cookies with a glass of milk and a rom-com is absolute perfection.
Pairing Ideas (Drinks, Sides, etc.)
Want to elevate your cookie experience? Here are some pairing suggestions:
- Drinks: A tall glass of cold milk, a warm cup of coffee, or even a spiced chai latte.
- Sides: Keep it simple with fruits like strawberries or apples; they totally balance the sweetness.
- Desserts: Add a scoop of vanilla ice cream on top—hello, dessert à la mode!
How to Store and Reheat Leftovers
Honestly, if you have any leftovers after enjoying these goodies, store them in an airtight container. They can last about a week but believe me; they’ll probably be gone before then. If you need to reheat, just pop them in the microwave for about 10-15 seconds. Microwaves make everything gooey again, and that’s a little slice of heaven!
Make-Ahead and Freezer Tips
You can prepare the cookie dough ahead of time and freeze it by scooping portions onto a baking tray and freezing them until solid. Once they’re set, pop them into a freezer bag. They can last a few months frozen. When you’re ready to bake, there’s no need to thaw—just bake an extra minute!
Common Mistakes to Avoid
- Not letting the butter cool: Melted butter should be warm, not hot. Otherwise, you’ll cook the eggs and ruin the texture.
- Not chilling the dough: I don’t want to sound like a broken record, but don’t skip this step!
- Using stale ingredients: Always check for freshness; old baking soda can leave your cookies flat as a pancake.
Frequently Asked Questions (FAQ)
Q: Can I use margarine instead of butter?
A: While margarine does work in a pinch, the flavor won’t be quite the same. Stick with butter for that rich, delicious taste!
Q: What if the dough is too soft?
A: If it’s overly soft, return it to the fridge for longer to firm up.
Q: Can I make these cookies smaller?
A: Absolutely! Just keep an eye on baking time, and they might need a few minutes less.
Q: What if I don’t have chocolate chips?
A: Chopped chocolate bars or other candies work wonderfully too—be creative!
Cooking Tools You’ll Need
- Mixing bowls
- Measuring cups and spoons
- Whisk or electric mixer
- Cookie scoop
- Baking sheets
- Parchment paper
Final Thoughts
Baking these Ultra Thick Bakery Style Chocolate Chip Cookies was a journey filled with laughter, maybe a little messiness, and definitely joy. I hope this recipe finds you and your loved ones, bringing as much comfort and warmth as it does to me. Each cookie is a bit of nostalgia, a little adventure, and a whole lot of deliciousness in one bite!
If you enjoyed this recipe, don’t forget to save it on Pinterest or share it with a friend! Let your cookies bring a smile to someone’s day, just like they do for me. Enjoy the baking chaos, and happy cookie-making!

Ultra Thick Bakery Style Chocolate Chip Cookies
Ingredients
Wet Ingredients
- 2 large eggs Adds moisture and helps bind everything together.
- 14 tablespoons unsalted butter (melted and slightly cooled) Recommended for richness; unsalted is preferred for better control of saltiness.
- 1 cup granulated sugar Creates a chewiness and adds sweetness to the cookies.
- ½ cup packed light brown sugar For a rich, caramel flavor.
- 1 teaspoon vanilla extract Brings a warm, comforting aroma.
Dry Ingredients
- 2½ cups all-purpose flour The base of our cookies. Avoid overmeasuring.
- 1 teaspoon baking soda Helps the cookies puff up.
- ½ teaspoon salt (or sea salt) Balances sweetness and enhances flavor.
Chocolate Ingredients
- 3 cups chocolate chips A mix of semisweet and dark chocolate is recommended.
- optional extra chocolate chips and flaky sea salt For topping.
Instructions
Mixing Dry Ingredients
- In a mixing bowl, whisk together the flour, baking soda, and salt.
Preparing Wet Ingredients
- In another bowl, combine melted butter, granulated sugar, brown sugar, and vanilla extract until smooth.
- Mix in the eggs one at a time until the mixture is velvety.
Combining Mixtures
- Gently fold the dry mixture into the wet mixture using a spatula.
Chilling the Dough
- Cover the bowl with plastic wrap and chill in the fridge for at least 1 hour.
Preheating the Oven
- Preheat the oven to 350°F (175°C) and line baking sheets with parchment paper.
Scooping and Shaping Cookies
- Scoop generous amounts of dough onto baking sheets, optionally adding extra chocolate chips on top.
Baking the Cookies
- Bake for about 12-15 minutes until the edges are golden and the center looks slightly underbaked.
Cooling
- Let the cookies cool on the sheet for a minute before transferring to a cooling rack.