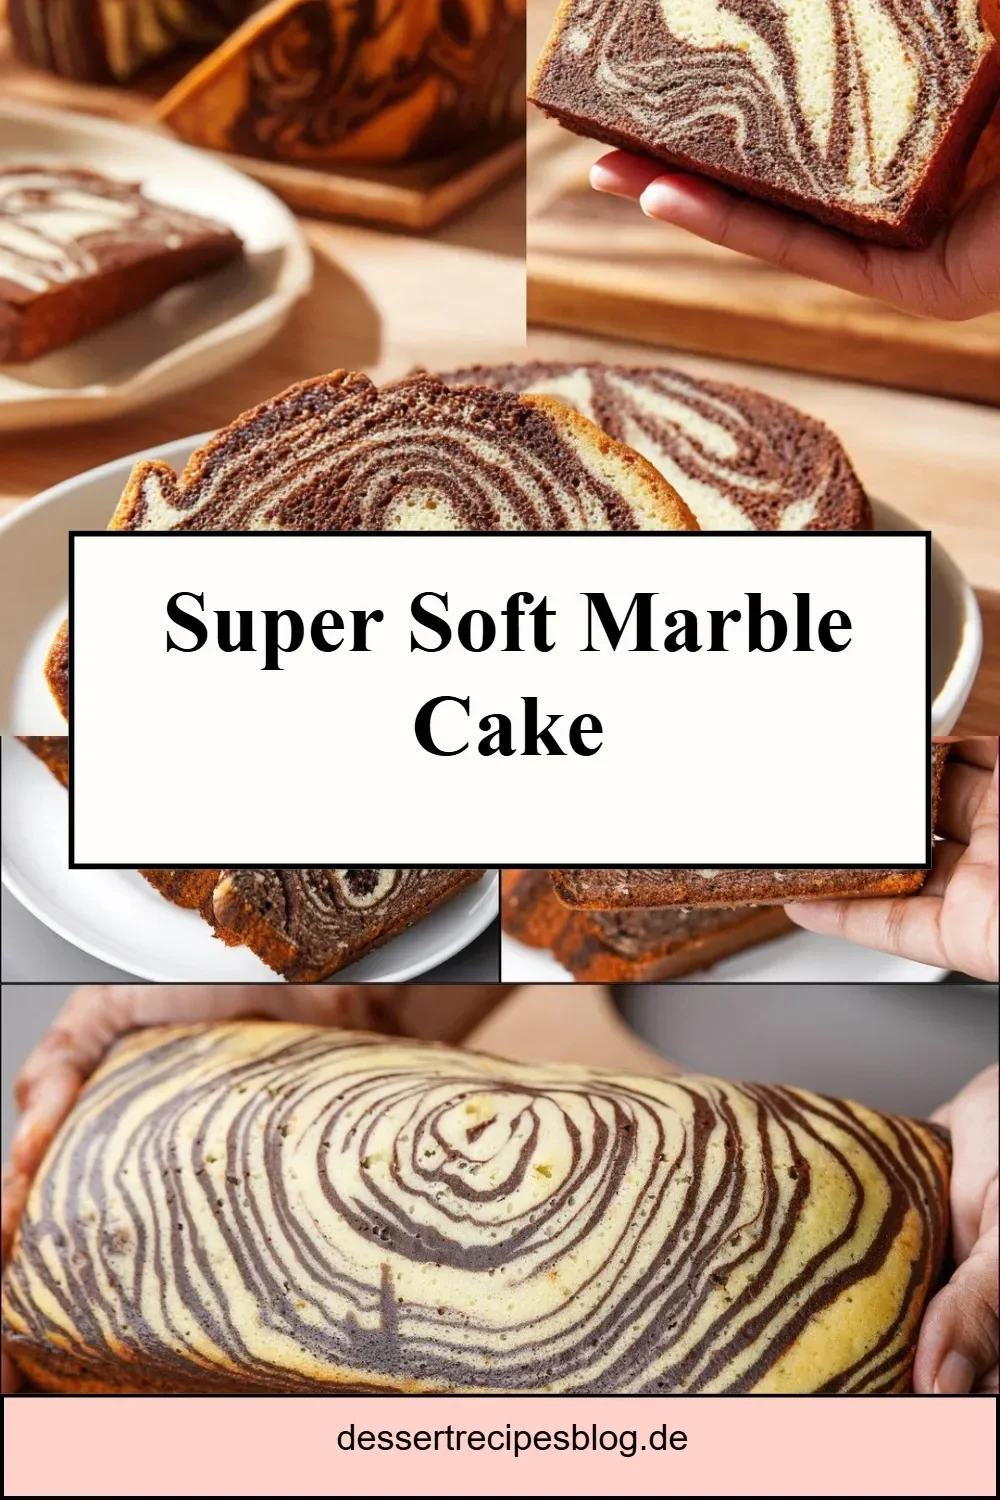
The Best Easy Marble Cake Recipe: Comfort in Every Slice
The first time I baked this super soft marble cake, I had no idea I was about to stumble upon the ultimate comfort treat. It was an unassuming Wednesday evening, but my heart craved something sweet, and my kitchen was calling. I vaguely remembered watching my grandmother whip up his cake when I was a kid. Her laughter filled the space as we swirled the chocolate and yellow batter together, creating magic right before our eyes.
As I stood in my kitchen that fateful night, I dug through my pantry, scavenging for ingredients. I literally had just enough—a lone cup of flour, half a stick of butter resting in the fridge, and some forgotten cocoa powder lingering in the corner. I knew this was it. The stars were aligning in a delicious way.
After a few hiccups—who doesn’t have kitchen chaos?—I unearthed a pretty decent marble cake in the oven that smelled like an absolute slice of heaven. Honestly, the warm, buttery aroma wafted through my home like a fragrant hug. Mid-baking, I caught myself daydreaming about how I’d wrap this beauty up in foil and bring it to the next family gathering. But honestly, it didn’t last that long; my family devoured it in a flash!
What makes this marble cake so special is how it captures the essence of comfort. Each bite is incredibly soft and fluffy, bursting with nostalgic flavors. It’s like a cozy evening wrapped in a blanket, with laughter echoing through the air—perfect for any occasion, whether it’s a Tuesday night rallying for some self-care or a family celebration.
So, grab your apron and let’s talk about why this recipe means not just anything to me, but an emotional connection that turns a simple dessert into a slice of pure joy.
Why You’ll Love This Recipe
-
Easy to Make: This recipe has simple steps and uses common pantry ingredients. What’s not to love?
-
Comforting: Every slice is like a hug; fluffy, soft, and everything you want on a cushy sofa night.
-
Perfect for Leftovers: It keeps well! Just try not to eat it all in one sitting.
-
Picky Eater Approved: I swear even the critical family members who usually front a meh face at dessert couldn’t resist it!
-
Great for Meal Prep: Planning a week of easy weeknight dinners? This cake fits right in.
-
Versatile for Any Occasion: Birthdays? Tea time? Celebrations? This cake is your go-to!
What Makes This Recipe Special?
The flavors are where things get really fun! The rich, chocolatey cocoa pairs beautifully with the light vanilla base, creating a unique experience with every bite. You get that classic, tender crumb of the vanilla cake layered with pockets of chocolaty goodness. It’s a cake that invites you to take just one more slice!
Another delightful surprise is the smell—the way the butter and sugar come together to create that heavenly aroma wafting through your home. To be real, there’s a moment when it’s baking, and you can’t decide what’s better: the mouthwatering scent or gazing at the swirls as they form in the pan.
This cake isn’t just a dessert; it has a story. With each slice, I’m reminded of summer afternoons spent on my grandmother’s porch, with warm sunlight pouring in and laughter ringing in the air while we indulged in her delicious creations.
Ingredients
- 1 cup all-purpose flour
- 1/2 cup sugar
- 1/2 cup butter, softened (don’t skip on this!)
- 2 eggs
- 1/2 cup milk
- 1 teaspoon baking powder
- 1 teaspoon vanilla extract
- 1/4 cup cocoa powder
Now, let’s break down the star players in this recipe.
-
All-Purpose Flour: Holds everything together and gives that lovely, tender crumb we adore.
-
Sugar: For sweetness! It caramelizes to create that golden crust around the edges—yum.
-
Butter: This beauty adds moisture and richness to the cake. Seriously, don’t skimp here—use the real stuff.
-
Eggs: They serve as a binder and help with the cake’s texture.
-
Milk: Just enough to keep things tender and moist.
-
Baking Powder: Our trusty sidekick, helping the cake rise to fluffy perfection.
-
Vanilla Extract: A splash of this magical elixir infuses the cake with warmth, making it taste homemade.
-
Cocoa Powder: The star of the show for that rich, chocolate element that we all dream about!
Don’t Do This Warning
Now, an important note—don’t rush over creaming the butter and sugar. This step is crucial! Not whipping them enough means you could end up with a denser cake. When you’re looking for super soft, spend a few moments on this, trust me.
How to Make It Step-by-Step
Grab your apron, and let’s dive into the step-by-step process of crafting this divine marble cake.
Step 1: Preheat and Prep
First things first, preheat your oven to 350°F (175°C). That sweet spot will give you the softest cake. Grease and flour your cake pan. Honestly, nothing’s worse than a cake that won’t come out of the pan—trust me!
Step 2: Cream the Butter and Sugar
In a mixing bowl, toss in that softened butter and sugar. Now, cream them together until the mixture is light and fluffy. You’ll know it’s ready when it turns pale and airy. This is where the magic begins! Give it about 3-5 minutes of mixing. You can totally use a stand mixer, but sometimes I just go old school with a hand whisk and some elbow grease. Talk about a workout!
Step 3: Add the Eggs
Next, crack in your eggs, one at a time, mixing well after each addition. Cue the delightful “plop” sound as they hit the bowl! You want each egg fully integrated before adding the next. This step ensures a uniform batter.
Step 4: Vanilla Bliss
Now, stir in the vanilla extract. That aroma hitting your nose? Perfection. It’s the kind of smell that makes everything feel right in the world.
Step 5: Dry Ingredients Unite
In another bowl, combine your flour and baking powder. Gradually add this mixture to your creamed butter, alternating with the milk. Start and finish with the flour mixture. This adds to the fluffiness, and trust me, it’s worth the little extra effort.
Step 6: Split the Batter
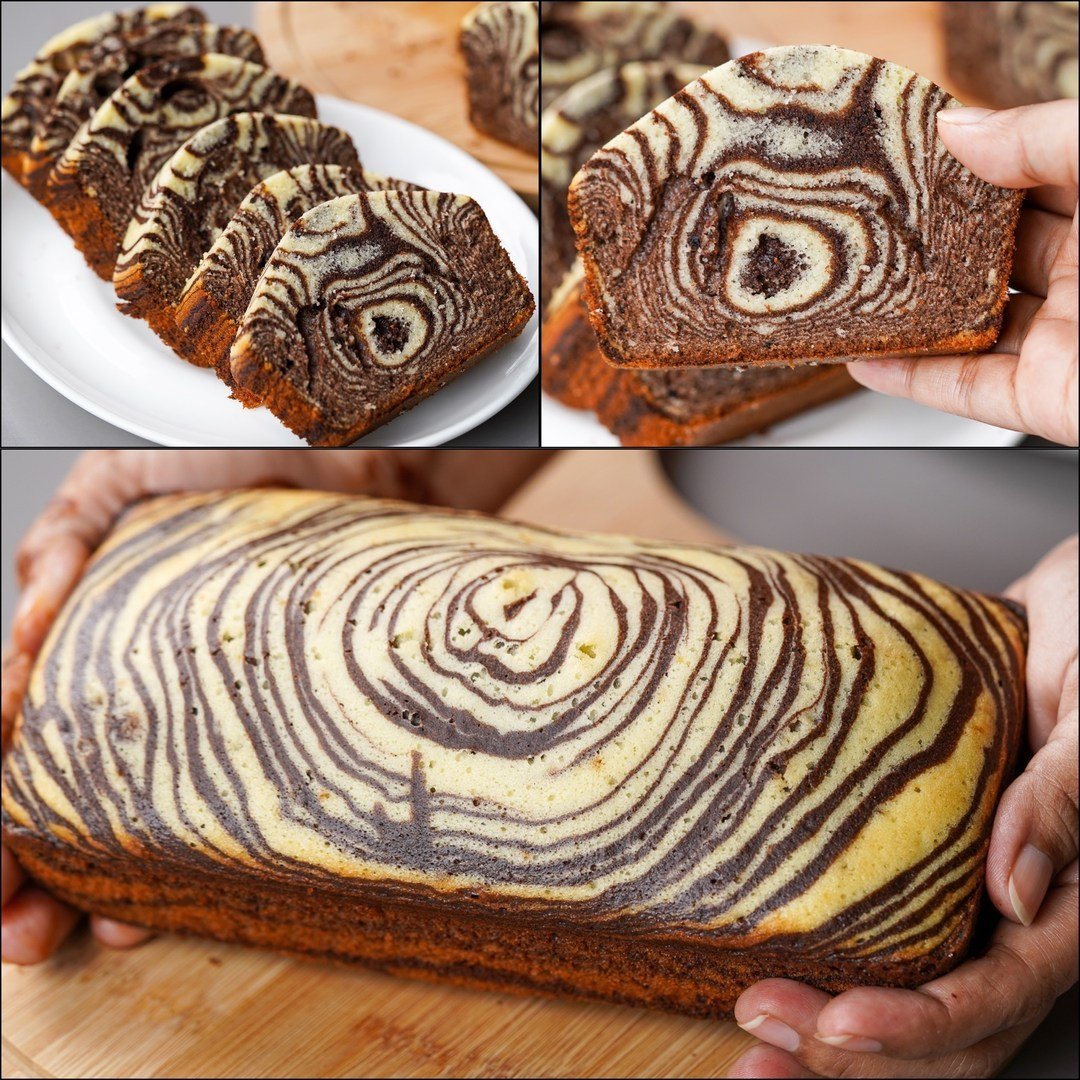
Once everything is nicely mixed—a luscious, fluffy batter—divide it in half. Mix cocoa powder into one half. At this stage, you’ll see those sumptuous chocolate tones emerge, and it’s honestly like opening a treasure chest.
Step 7: Create Vegan Art
Pour alternating spoonfuls of both batters into your prepared pan. Now here’s where the real fun happens—grab a knife and create a swirling effect! Be adventurous; there’s no right or wrong here!
Step 8: Bake to Perfection
Pop that filled cake pan in the preheated oven and bake for about 30-35 minutes. It’s always a great moment when the aroma wafts through your home! Keep an eye on it. Use a toothpick to check the center; it should come out clean.
Step 9: Cool Down
Once out of the oven, let the cake cool in the pan for a few minutes, then transfer it to a wire rack. This waiting period gives you time to reflect on your life choices and maybe sneak a taste when no one’s looking—oops!
Tips for Best Results
-
Make sure all your ingredients are at room temperature. It helps with mixing and results in a better texture.
-
Don’t open the oven door too early; this could cause it to sink!
-
Consider using a toothpick dipped in flour for greasing your pan. Seriously, it changes everything.
Ingredient Substitutions & Variations
Feeling a bit adventurous? Let’s explore.
-
Whole Wheat Flour: For a more rustic flavor, swap out all-purpose with whole wheat.
-
Coconut Oil: Instead of butter, use coconut oil for a dairy-free option.
-
Almond Milk: Trying to cut back on dairy? Almond milk works like a charm!
-
Add-ins: Feel free to throw in some chocolate chips or nuts if you’re feeling wild!
Directions
- Preheat the oven to 350°F (175°C) and grease a cake pan.
- Cream the butter and sugar in a bowl until light and fluffy.
- Add eggs one by one and mix well after each.
- Stir in the vanilla extract.
- Mix flour and baking powder in another bowl. Gradually add to the creamed mixture with milk, starting and ending with flour.
- Divide the batter; mix cocoa powder into one half.
- Spoon batters alternately into the pan, swirl with a knife for marbling.
- Bake for 30-35 minutes, checking doneness with a toothpick.
- Let cool before serving.
Pairing Ideas (Drinks, Sides, etc.)
I like to serve this cake with a scoop of vanilla ice cream or a dollop of whipped cream. Seriously, it’s bliss on a plate! And to complement it, a warm cup of coffee or a chilled glass of milk will transform your dessert into an experience. This and a heartwarming rom-com is perfection—just saying.
How to Store and Reheat Leftovers
If you somehow have leftover cake (not likely, but let’s pretend), wrap it tightly in plastic wrap or foil. You can keep it at room temperature for 2-3 days or in the fridge for about a week. If you’re going to reheat it, toss a slice on a microwave-safe plate and heat it for about 15 seconds for that fresh-from-the-oven taste.
Make-Ahead and Freezer Tips
Want to prep in advance? Bake the cake and freeze it! Wrap it well before it cools completely, then store it in the freezer for up to three months. When you’re ready, pop it in the fridge overnight to thaw out. It’ll still taste fantastic!
Common Mistakes to Avoid
- Don’t rush the creaming step; not mixing well can lead to a dense cake.
- Make sure to use fresh baking powder; stale powder will not give you the rise you want!
- Check on your cake at the 30-minute mark to avoid over-baking.
Frequently Asked Questions (FAQ)
Can I add nuts to this recipe?
Absolutely! Pecans or walnuts can add a nice crunch to the soft cake.
Can I use gluten-free flour?
Sure! A gluten-free flour blend should work fine; just keep an eye on the baking time.
What if I want a chocolate-heavy cake?
Increase the cocoa powder to suit your chocolate cravings, or make a full chocolate batter.
How can I make this cake dairy-free?
Substitute butter with coconut oil and use almond or soy milk instead.
Cooking Tools You’ll Need
- Mixing bowls
- Whisk or stand mixer
- Measuring cups and spoons
- Cake pan
- Rubber spatula
- Toothpick (for testing)
Final Thoughts
This super soft marble cake is more than just a recipe; it’s a cherished tradition that evokes memories of laughter, love, and warmth. Honestly, it’s a great reminder to sometimes slow down, embrace the chaos, and enjoy those little moments of joy in our kitchens.
If you try this out (and I hope you do), I’d love to hear how it turns out! Do you have a twist of your own? If you enjoyed this recipe, don’t forget to save it on Pinterest or share it with a friend!
Easy Marble Cake
Ingredients
Dry Ingredients
- 1 cup all-purpose flour Holds everything together and gives that lovely, tender crumb.
- 1/2 cup sugar For sweetness and to create a golden crust.
- 1 teaspoon baking powder Helps the cake rise to fluffy perfection.
- 1/4 cup cocoa powder Provides the rich, chocolatey flavor.
Wet Ingredients
- 1/2 cup butter, softened Adds moisture and richness to the cake.
- 2 pieces eggs Acts as a binder and helps with the cake's texture.
- 1/2 cup milk Keeps the cake tender and moist.
- 1 teaspoon vanilla extract Infuses the cake with warm, homemade flavor.
Instructions
Preparation
- Preheat your oven to 350°F (175°C) and grease and flour your cake pan.
- In a mixing bowl, cream together the softened butter and sugar until light and fluffy, about 3-5 minutes.
- Add the eggs one at a time, mixing well after each addition.
- Stir in the vanilla extract.
- In another bowl, combine the flour and baking powder. Gradually add this mixture to the creamed mixture, alternating with the milk, starting and ending with the flour.
Baking
- Once mixed, divide the batter in half and mix cocoa powder into one half.
- Spoon the batters alternately into the prepared pan and swirl with a knife for marbling.
- Bake for about 30-35 minutes, checking doneness with a toothpick.
- Let the cake cool in the pan for a few minutes before transferring it to a wire rack to cool completely.