Introduction
There’s a specific kind of quiet that happens when the ice cream maker starts humming on a summer afternoon. The windows are cracked, the ceiling fan is doing its best, and I’m leaning on the counter with a spoon, pretending I’m taste-testing for “research.” Honestly, I didn’t expect a simple vanilla to hit this hard. But it does—warm vanilla perfume in the air, that whisper of sweetness, and a slow, velvety scoop that makes me think of front porches and giggly kids with sticky hands. It’s classic, but not boring. Comforting, but still a little indulgent. Perfect for easy weeknight dinners where dessert is the part that makes everyone lean in and ask for seconds.
The first time I made this, I forgot to chill the bowl of my ice cream maker. Oops. I poured in the base, hit the button, and waited. And waited. Let’s just say we had the most luxurious vanilla milkshake of our lives. I laughed, we slurped, and I learned—sometimes kitchen “disasters” are just detours to delicious. Now I chill the bowl like it’s my job, and the payoff is a rich, creamy scoop that tastes like the best diner sundae, but better. The kind that melts slowly over a warm brownie, or sits proudly next to a slice of pie, or just steals the show in a simple bowl with a drizzle of honey.
To be real, this recipe matters to me because it’s a base that turns into a thousand cozy moments. It’s the dessert I wheel out when life feels too loud and I want the world to soften around the edges. It’s for Tuesday nights after quick family meals, for dreamy date nights at home (no reservations, no stress), and for a weekend backyard movie where the only “commercials” are someone asking, “Do you want sprinkles?” Also—this is my go-to when I’m meal planning desserts alongside budget-friendly recipes for mains. A scoop of vanilla can make a humble skillet dinner feel like a restaurant moment.
Vanilla ice cream is the reliable friend who shows up with hugs and brings toppings. It’s cozy and cool at the same time. The texture is silky, the sweetness gentle, and each spoonful feels like a little celebration. And yes, you can absolutely tuck this into your healthy comfort food line-up with mindful portions. It turns a plate of fruit into a sundae, makes waffles feel like brunch royalty, and—if your house is anything like mine—somehow disappears from the freezer faster than you thought possible.
(If you’re juggling a keto meal plan for you and a protein meal plan for the gym-lover in your life, don’t worry—we’ll talk swaps and add-ins below. This vanilla base plays nice with everyone, from high protein meals to low calorie high nutrition meals, and even vegan meal prep plan twists when you want dairy-free magic.)
Why You’ll Love This Recipe
- It’s simple, reliable, and nostalgic. You whisk, you chill, you churn—no culinary gymnastics required. It’s the dessert version of a sigh of relief.
- The texture is dreamy. Think ultra-creamy without feeling heavy. Balanced. Scoopable. Spoon-licking worthy.
- Flavor that’s pure and true. Real vanilla sings here, soft and elegant, not loud or artificial.
- It’s a blank canvas. Swirl in jam, shower with cookies, or freestyle with chocolate ribbons—your bowl, your rules.
- Family-friendly and crowd-pleasing. Picky eaters? They say yes. Foodies? They nod approvingly. Leftovers? Great for meal prep microwave lunches when you need a sweet finish.
- It weaves into everyday life. Pair it with best dinner prep meals during busy weeks, or serve it after healthy eating for two when you want something special without stress.
What Makes This Recipe Special?
This recipe respects the classics while leaving room for creativity. It uses a clean, balanced ratio of heavy cream to whole milk for a rich yet light feel. The sugar is just enough to amplify vanilla without turning it cloying. And here’s the quiet trick: a proper chill. When the base is perfectly cold, the churn traps tiny air bubbles that make each bite cloud-soft. Also, finishing the churn at soft-serve and then freezing briefly yields that scoop-shop texture at home. It’s the kind of small detail that transforms “good” into “wow.”
Ingredients
1 ½ cups heavy cream
1 ½ cups whole milk
⅔ cup granulated sugar
2 teaspoons pure vanilla extract (or seeds from 1 vanilla bean)
Pinch of fine sea salt
Here’s why each one matters and how I make it sing:
Heavy cream: This is the frosting to milk’s cake. It brings body and that luxurious mouthfeel we chase in every scoop. I prefer brands with minimal additives—just cream—because clean ingredients make a clean-tasting ice cream.
Whole milk: The light-footed partner to cream. It keeps the texture soft and scoopable instead of butter-heavy. I’ve tried lower fat milk and, to be real, the result gets icy faster. Whole milk is the move.
Granulated sugar: Sweetness, sure, but also structure. Sugar lowers the freezing point so your ice cream doesn’t turn into a snowbank. If you’ve ever wondered why “less sugar” can mean “more ice crystals,” this is why. I whisk until it’s fully dissolved—no grainy surprises.
Vanilla extract or bean: Vanilla is the heartbeat. Extract gives a clean, unified flavor. A whole bean gives you those gorgeous specks and a more nuanced aroma. If I’m celebrating or want that hello, bakery-level dessert vibe, I split and scrape a bean. For weeknights, I lean on good extract.
Salt: Just a pinch, but it’s the tiny amplifier that makes vanilla taste more like vanilla. Without it, the flavor can feel flat. With it, watch your eyes widen on the first spoonful.
A few real-life tips and warnings from my kitchen:
Don’t rush the chill. If the base isn’t cold, your churn might stall and you’ll end up with a melty situation (still tasty, just not scoopable). Don’t skimp on the sugar or swap it for a low-cal sweetener one-for-one—texture will suffer. If you use vanilla bean, don’t throw away the pod—steep it in the dairy to extract every last drop of aroma. And if you’re tempted to go all cream and skip the milk, you’ll tip into ultra-rich territory quickly (not a bad thing, but a different dessert vibe).
How to Make It Step-by-Step
- Whisk the base
In a medium mixing bowl, I whisk together heavy cream, whole milk, sugar, vanilla, and salt. I don’t stop until the sugar disappears—if I rub a drop between my fingers and feel grit, I keep whisking. The bowl gets cool, the mixture looks satiny, and I catch those soft vanilla notes drifting up. - Chill like you mean it
I cover the bowl and chill for at least 2 hours—overnight if I remember. When I open the fridge later, the base smells rounder, like the vanilla has settled in. Little ice-cold droplets cling to the sides of the bowl and I know we’re ready. Pro tip: pop your churn bowl in the freezer a full 24 hours before. The one time I forgot, we had vanilla soup. Still delicious. Less scoopable. - Churn to soft-serve magic
I set the ice cream maker to do its gentle whirl. The base thickens slowly. At first, it looks like it’s not doing anything; then the edges cling to the paddle and the swirl turns creamy. The sound shifts, too—there’s a quiet resistance that tells me we’re close. After about 20–25 minutes, it’s soft-serve heaven. I always “test” a spoonful here. For science. - Customize (if you want)
If I’m adding chocolate shards (hi, stracciatella), I drizzle melted chocolate in at the very end of the churn and watch it snap into delicate flakes. If I want a ribbon of jam or peanut butter, I fold it in gently with a spatula after churning so it streaks rather than blends. This base plays fabulously with crushed cookies, brownies, roasted strawberries, or toasted coconut. - Freeze to set
Soft-serve is dreamy right away, but for scoops with pretty edges, I transfer the ice cream to an airtight container. I press parchment right on the surface and freeze 2–4 hours. When it’s set, the scoop glides through like a tiny snowplow making neat curls. That first clean scoop is always a little ceremony. - Serve with joy
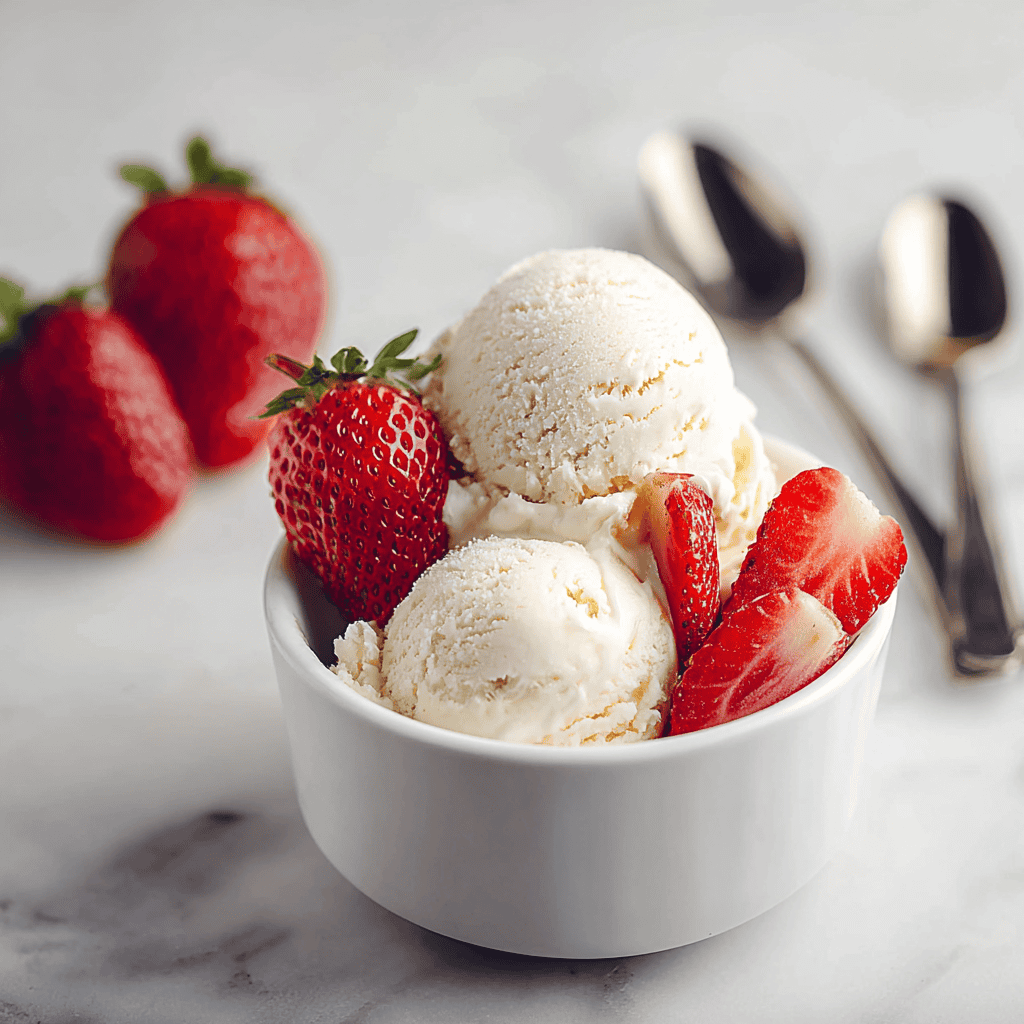
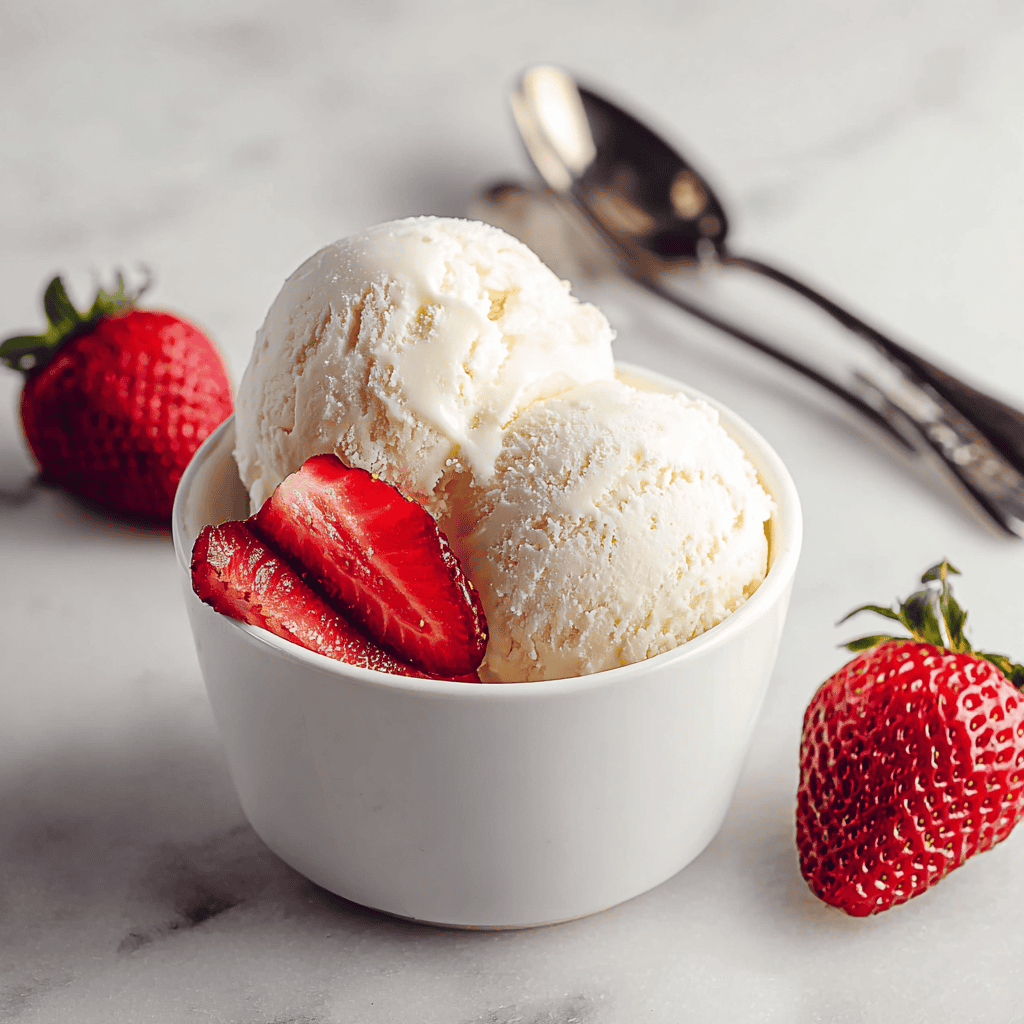
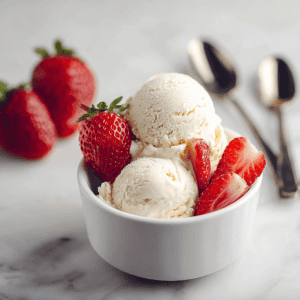
I scoop into chilled bowls (yes, it matters on hot days) and top with whatever is calling my name: honey, warm berry compote, or a crackly cookie. The first bite is creamy, cool, and lightly floral from the vanilla. It’s simple in a way that feels luxurious—like a white T-shirt that fits perfectly.
Sights, smells, textures: You’ll see the mixture turn from glossy liquid to thick cloud. You’ll smell vanilla blooming during the chill and brightening as it churns. And you’ll feel the spoon push through something that’s soft and rich, but somehow light. If you hit icy edges, the base may not have been cold enough—or you tried to skip the sugar (I’ve made that mistake during a “let’s be good” phase; it backfired).
Encouraging improvisation: go seasonal. In spring, swirl in rhubarb compote. In summer, roasted peaches. In fall, spoon in cinnamon-stewed apples. In winter, streak it with tahini and dates. This is your all-season dessert friend.
Tips for Best Results
- Chill everything: the base, the churn bowl, even your storage container if you want clean scoops. Cold begets creamy.
- Use full-fat dairy: it’s your best defense against iciness and grainy texture.
- Press parchment onto the surface before freezing to minimize ice crystals.
- Don’t overfill the churn: leave space for air to work in and for the mixture to expand.
- Taste the base: if it’s slightly sweeter than you want, you’re on track—freezing dulls sweetness.
- For softer scoops after storing, let the container rest at room temp 5–10 minutes. Or park it in the fridge for 15 minutes—controlled softening for the win.
Ingredient Substitutions & Variations
- Dairy-free dream: Use full-fat coconut milk (the canned kind) plus a little almond or oat milk for balance. Add a teaspoon of cornstarch slurry to help stabilize if needed.
- Vanilla bean paste: A gorgeous middle ground—specks and depth without wrangling a whole pod.
- Sweeteners: Maple or honey add personality, but change the texture slightly. I often do half sugar, half honey for subtle complexity.
- Texture boosters: A teaspoon of glycerin or a tablespoon of light corn syrup helps keep scoops soft after a few days in the freezer.
- Mix-ins: Fold in crushed sandwich cookies, toasted pecans, brownie bits, or swirl raspberry jam for a sundae-in-a-scoop vibe.
- Higher-protein twist: Stir in a small amount of unflavored whey isolate during the whisking stage (start with 1–2 tablespoons) to complement high protein meals, high macro meals, or a protein eating plan.
- Lower-calorie lane: Use a higher ratio of milk to cream and keep portions reasonable to pair with low calorie premade meal delivery nights or hello fresh low calorie menu-style dinners at home.
Serving Suggestions
Serve this next to warm pie (apple or peach), on top of skillet brownies, or with grilled fruit for an instant backyard-dinner win. A scoop on waffles or pancakes turns breakfast into a mini celebration—especially after a full english breakfast style plate (I said “style,” not a strict version). For date-night at home, pair a small bowl with espresso for affogato vibes. This and a cozy rom-com? Perfection. If you’re building best meals to prep for a busy week, portion scoops into small freezer-safe cups so everyone gets a treat after best high protein ready meals or best high protein frozen meals pulled from the freezer.
Pairing Ideas (Drinks, Sides, etc.)
- Drinks: Freshly pulled espresso, cold brew, hot chocolate, or a chai latte. For summer afternoons, iced tea with lemon is lovely.
- Sides: Warm brownies, shortbread cookies, or cinnamon-dusted tortilla crisps (trust me).
- Toppings: Roasted strawberries, caramel sauce, crushed pistachios, chocolate shell, or a drizzle of tahini and honey.
- Fun bar: Set out bowls of mini marshmallows, chopped nuts, crushed cones, and mini chocolate chips so everyone builds a custom sundae after quick family meals.
How to Store and Reheat Leftovers
Reheat ice cream? Not exactly—more like soften. I store mine in a shallow, airtight container to create more surface area (faster, even softening). Press parchment or plastic wrap directly onto the surface before sealing the lid to help prevent ice crystals. When you’re ready to serve, let it sit at room temp for 5–10 minutes, or pop it into the fridge for 10–15 minutes for controlled softening. If you see a little frost on top, scrape off the very top layer and proceed. It keeps well up to 1 month, though let’s be honest—mine rarely makes it past week two.
Make-Ahead and Freezer Tips
Make the base up to 48 hours ahead and keep it chilled. The flavor actually deepens a bit with time. You can churn a day before serving and freeze; just remember the parchment tip and a tight lid. For sundaes-on-demand (hello, busy weeks with meal planning chicken mains or good meal prep plans), portion into individual cups before freezing so dessert is grab-and-go.
Common Mistakes to Avoid
- Skipping the chill: If your base or churn bowl isn’t fully cold, you’ll get soupy results and larger ice crystals later.
- Under-sweetening: Sugar affects texture as much as taste. Cut it too much and you’ll trade creaminess for iciness.
- Overfilling the machine: Leave headroom for air to incorporate or your churn will struggle and your texture will suffer.
- Neglecting the surface: No parchment on top means hello, freezer crystals. It’s a small step with big payoff.
- Using low-fat milk only: It often creates a thin, icy texture. Balance is everything.
Frequently Asked Questions (FAQ)
Can I make this without an ice cream maker?
Yes. Whip 2 cups heavy cream to stiff peaks, fold in one can sweetened condensed milk plus 2 teaspoons vanilla, and freeze. It won’t be identical, but it’s wonderfully creamy and easy.
What’s the difference between this and custard-style ice cream?
Custard uses egg yolks for an extra-rich, denser scoop. This version is egg-free and lighter, with a clean vanilla flavor.
Why is my ice cream icy?
Usually the base wasn’t cold enough, the machine was overfilled, or the dairy was too low in fat. Sugar levels also matter—don’t cut too drastically.
Can I double the recipe?
Yes, if your machine capacity allows it. Otherwise, churn in two batches for the same silky texture.
What vanilla should I use?
Pure vanilla extract, vanilla bean paste, or a scraped vanilla bean. Imitation tends to taste sharp and one-note.
Can I make it dairy-free?
Absolutely. Use full-fat coconut milk plus a splash of almond or oat milk, and consider a teaspoon of cornstarch slurry to stabilize.
Cooking Tools You’ll Need
- Ice cream maker with a well-frozen bowl
- Medium mixing bowl and whisk
- Measuring cups and spoons
- Flexible spatula for folding and transferring
- Airtight, freezer-safe container with parchment or plastic wrap for the surface
- Optional: fine-mesh sieve if you’ve steeped vanilla bean in warm dairy and want a super-smooth base
Final Thoughts
There’s a reason vanilla endures. It’s not plain; it’s poised. It steps back just enough to let every topping shine, but it stands tall all by itself. When I scoop this into a chilled bowl after healthy boxed meals on a busy night, it feels like pressing pause—creamy, cool, and quietly joyful. And when friends come over, this is the dessert that convinces everyone I have my life together (even if the sink says otherwise).
Make it once and you’ll get it—the hum of the machine, the slow thickening, that first clean scoop. Keep it simple or dress it up. Fold in cookies for movie night. Add roasted fruit for Sunday suppers. Pack single-serve cups so dessert is as easy as grabbing a spoon after best meal prep healthy dinners or alongside high protein ready made meals when the evening is too short and the couch is too comfy. This is a recipe you’ll reach for again and again, not because it’s trendy, but because it feels like home.
If you enjoyed this recipe, don’t forget to save it on Pinterest or share it with a friend!
Homemade Vanilla Ice Cream
Ingredients
- 1 1/2 cups heavy cream
- 1 1/2 cups whole milk
- 2/3 cup granulated sugar
- 2 teaspoons pure vanilla extract (or seeds from 1 vanilla bean)
- pinch of fine sea salt
Instructions
- In a medium mixing bowl, whisk together the heavy cream, whole milk, granulated sugar, vanilla, and a pinch of salt until the sugar is fully dissolved and the mixture looks smooth.
- Cover the bowl and refrigerate for at least 2 hours (or overnight) until the base is thoroughly chilled.
- Pour the chilled mixture into an ice cream maker and churn according to the manufacturer’s instructions, usually 20–25 minutes, until it reaches a soft-serve consistency.
- For soft-serve, serve immediately. For firmer scoops, transfer the ice cream to an airtight container, press parchment or plastic wrap directly onto the surface, and freeze 2–4 hours until set.
- Scoop and enjoy. Store leftovers covered in the freezer for up to 1 month; let sit at room temperature 5–10 minutes before scooping for best texture.


