The Best Easy Candy Recipe: A Sweet Family Tradition
There’s something undeniably magical about candy. It’s like a time capsule wrapped in crinkly paper, transporting you back to childhood with every nibble. I still remember the first time I attempted to make candy as a kid, wide-eyed and filled with excitement. Spoiler alert: it was a hilarious disaster—notorious for its burnt sugar and a pan that required a weeklong soak to clean. But it was in those messy moments, with a spatula in one hand and a vision in the other, that I learned the beauty of creating something delicious from scratch.
Candy has a unique way of stitching together family memories. In my house, it wasn’t just about eating candy; it was about bonding—even through sticky fingers and a couple of sugar-induced giggle fits. Fast forward a few years, and here I am, still entangled in my culinary adventures, but this time with a few more successes and a lot less smoke in the kitchen. The recipe I want to share today is an homage to those sweet childhood days. It’s a simple but oh-so-satisfying candy recipe that requires just a handful of ingredients: sugar, corn syrup, butter, vanilla extract, and salt. Honestly, it’s the kind of quick family meal substitute you can whip up during a chaotic weeknight, and you’ll be surprised at how much joy it brings.
Picture it: The sun is setting, painting your kitchen windows in warm golden hues, a faint scent of sweet vanilla wafting through the air. You mix the ingredients in your favorite saucepan—a hand-me-down from your great-aunt who was notorious for her baking escapades. As it begins to boil, the candy mixture bubbles with the promise of delight, and for a moment, time slows down. The pitter-patter of the kids outside fades, and all that remains is you and this swirling concoction of joy.
Now that I’ve got your taste buds tingling and your imagination stirred, let’s dive in!
Why You’ll Love This Recipe
-
Super Easy: No complex techniques here! Just combine, boil, and pour. Even if you’re not a pro in the kitchen, you’ll find success.
-
Comfort in a Bite: Each piece melts in your mouth, offering a sweet escape that feels like a warm hug.
-
Picky-Eater Approved: Kids love candy, and you can customize the flavors or shapes to keep things fresh and exciting.
-
Perfect for Sharing: Wrap them up in cute little bags and attach a handwritten note; they make fantastic gifts for friends or teachers.
-
Budget-Friendly: With simple ingredients and a straightforward process, this candy is a delightful win for your wallet too.
-
Great for Meal Prep: Made in advance, and they’ll be waiting for a late-night snack or a sweet craving any day of the week.
What Makes This Recipe Special?
This candy is so special because it embodies the beautiful chaos of family life. The simplicity of using sugar and butter transforms into a beloved treat through shared moments and laughter. Each bite takes me back to evenings spent with my siblings, competing to see who could make the biggest batch.
Tips? I’ve learned that patience is key—don’t rush the boiling stage! The magic happens when the mixture thickens, transforming into sweet, caramelly goodness. I look back at my kitchen fiascos with a chuckle and a heart full of gratitude—each burnt pan a lesson learned.
Ingredients
-
1 cup sugar: The fundamental building block of all candy—sweetness that binds it all together.
-
1/2 cup corn syrup: This sugary syrup gives the candy that chewy texture we love. Plus, it helps prevent crystallization, which can ruin your candy dreams. Don’t skip this!
-
1/4 cup butter (unsalted): Ah, the secret to richness! The butter enhances flavor and provides a luxurious mouthfeel. You could substitute with coconut oil for a dairy-free option, but trust me, butter is best.
-
1 teaspoon vanilla extract: Vanilla elevates the candy from ordinary to extraordinary. Don’t even think about using imitation; go for the real stuff.
-
1/2 teaspoon salt: A pinch of salt balances the sweetness beautifully. You might think, “Why would I add salt to candy?” Well, just trust me on this one.
Note:
Make sure to have everything ready before you start. Candy-making can be a little frenetic, and the last thing you want is to be scrambling for a measuring cup when you’ve got boiling sugar in front of you!
How to Make It Step-by-Step
Let’s get into the sweet nitty-gritty of crafting this delightful candy!
-
Gather Your Ingredients: Assemble all your ingredients and tools. A heavy-bottomed saucepan is best to handle the heat without scorching. You’ll also need a spatula and a greased baking dish—just a standard 8×8 will do.
-
Mix in the Saucepan: Over medium heat, combine the sugar, corn syrup, and butter in your saucepan. Honestly, this part is where the magic begins. The mixture looks so unassuming—like it can’t possibly turn into delightful candy!
-
Bring to a Boil: Stir gently until everything is well combined and the mixture comes to a boil. You’ll hear a gentle bubbling, and that fresh sugar aroma is like the smell of hope!
-
Boil, Don’t Stir: Here’s where I learned my lesson the hard way. Boil the mixture without stirring for 5 minutes. This means five full minutes—no peeking! You’ll want to time it to ensure you’re hitting that perfect stage. (I’ve had too many batches turn into hard rocks because I was a wee bit too eager.)
-
Add Vanilla and Salt: After 5 minutes, remove from heat and stir in the vanilla extract and salt. Watch out—this step can create a mini volcanic reaction of bubbles! It’s kind of cool, honestly. The aroma will make your heart sing.
-
Pour and Cool: Carefully pour the hot mixture into your pre-greased baking dish. If you feel like the dish is hissing when you pour, you did it right! Let it cool completely. This is the toughest part—waiting! The anticipation builds, and I usually end up pacing around my kitchen like a kid waiting for cookies to come out of the oven.
-
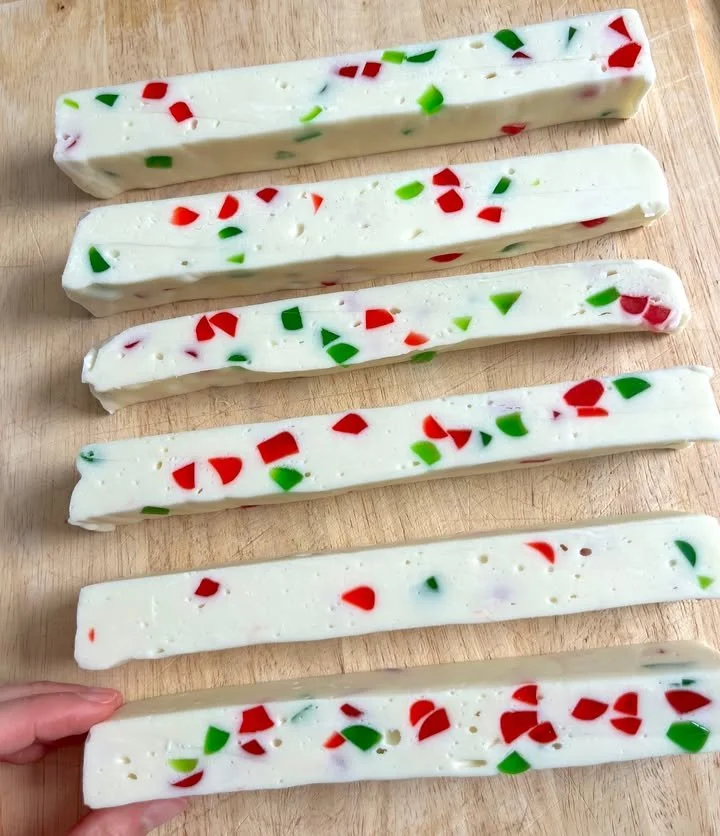
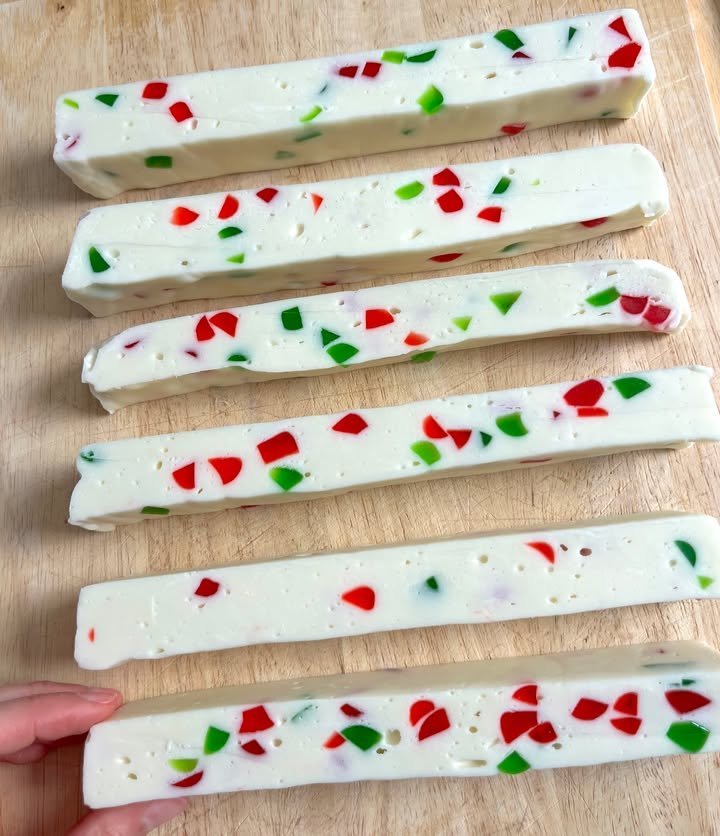
Cut into Pieces: Once cooled, turn the candy out onto a cutting board and cut it into squares. I like to pretend I’m a candy sommelier at this point! Use a sharp knife—it’ll make cutting much easier.
Tips for Best Results
-
Use a Candy Thermometer: If you’re serious about your candy-making, a thermometer can be a great safety net to ensure it reaches the right temp (around 245°F), but I’ve been known to wing it too!
-
Watch for Crystallization: If you see sugar crystals forming on the sides of your pan while you’re boiling, wipe them down with a damp brush to avoid a gritty texture.
-
Experiment with Flavors: You can totally get funky with flavors—add a dash of almond extract, or maybe some citrus zest for a fresh twist.
Ingredient Substitutions & Variations
If you’re looking to customize this candy or accommodate dietary needs, consider these options:
-
Coconut Oil instead of Butter: This makes it dairy-free while adding a subtle tropical flavor.
-
Honey or Agave Nectar in place of Corn Syrup: They have a different flavor profile but will yield a wildly fun treat. Just be ready for a texture that’s a tad different.
-
Add-Ins: Think about tossing in some crushed nuts or a sprinkle of sea salt on top after pouring for contrast.
Directions
-
In a saucepan over medium heat, combine sugar, corn syrup, and butter.
-
Stir until the mixture comes to a boil.
-
Continue boiling for 5 minutes without stirring.
-
Remove from heat and stir in vanilla extract and salt.
-
Pour the mixture into a greased baking dish and let it cool.
-
Once cooled, cut into pieces and serve.
Pairing Ideas (Drinks, Sides, etc.)
This candy pairs beautifully with warm mugs of hot cocoa or a glass of homemade vanilla milkshake. Honestly, cozy vibes will ensue. Perfect for that rom-com movie night you’ve been planning! Want something light? A serving of fresh fruit can balance out those sugary indulgences perfectly.
How to Store and Reheat Leftovers
Store the candy in an airtight container to keep its gooeyness intact. It stays fresh for about a week, but let’s be real—if your household is anything like mine, it might not last that long! I keep mine tucked away, but I’ve learned that sealing it too tightly can sometimes make it too chewy.
Make-Ahead and Freezer Tips
This candy is ideal for making ahead of time—just whip up a big batch, and you’re golden! You can freeze it in small pieces too, but I suggest wrapping each piece in wax paper before freezing them. Trust me, you’ll thank yourself for those spontaneous sweets cravings a few weeks down the line.
Common Mistakes to Avoid
-
Burnt Sugar: Monitor your boiling carefully! If you ignore it, you’ll end up with a burnt sugary mess that even the raccoons would reject.
-
Underboiling: If it doesn’t boil long enough, it might be too soft and sticky, almost fudge-like.
-
Skipping Greasing: Seriously, if you skip greasing the dish, you will be fighting against the candy, and no one wants that drama!
Frequently Asked Questions (FAQ)
-
Can I use brown sugar instead of white?
You can, but it will give your candy a deeper flavor and a different texture. -
Can I add food coloring?
Absolutely! Just stir it in after removing it from heat for beautiful colored candy. -
Why is my candy grainy?
This typically happens if the sugar crystallizes. Make sure not to stir it while it’s boiling! -
Can I double the recipe?
You sure can! Just make sure your pot is big enough, as the mixture will bubble up considerably. -
How do I know when it’s done?
Use a candy thermometer or trust your instinct after letting it boil for five minutes without stirring.
Cooking Tools You’ll Need
- Heavy-bottomed saucepan
- Spatula
- Measuring cups
- Baking dish (8×8 or similar)
- Sharp knife
- Airtight container for storage
Final Thoughts
Making candy is more than just a recipe; it’s a sweet reminder of all the deliciously chaotic moments in our kitchens. This easy recipe, with its simple ingredients and heartwarming flavors, can transform an ordinary evening into a cozy family affair.
I’d love to hear about your adventures with this recipe! Did you customize it? Have any funny mishaps? If you enjoyed this recipe, don’t forget to save it on Pinterest or share it with a friend! Happy candy-making, my sweet friends!


