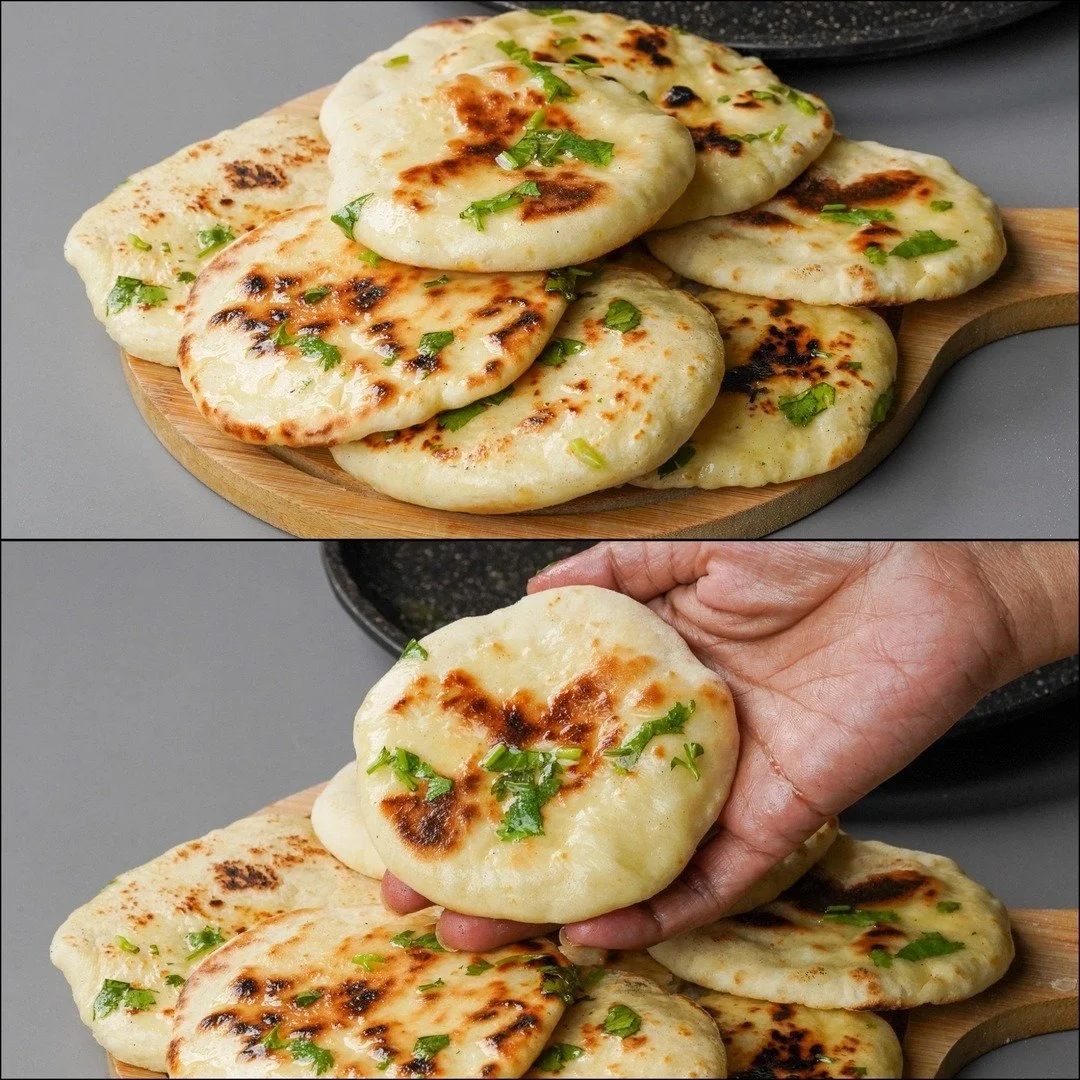
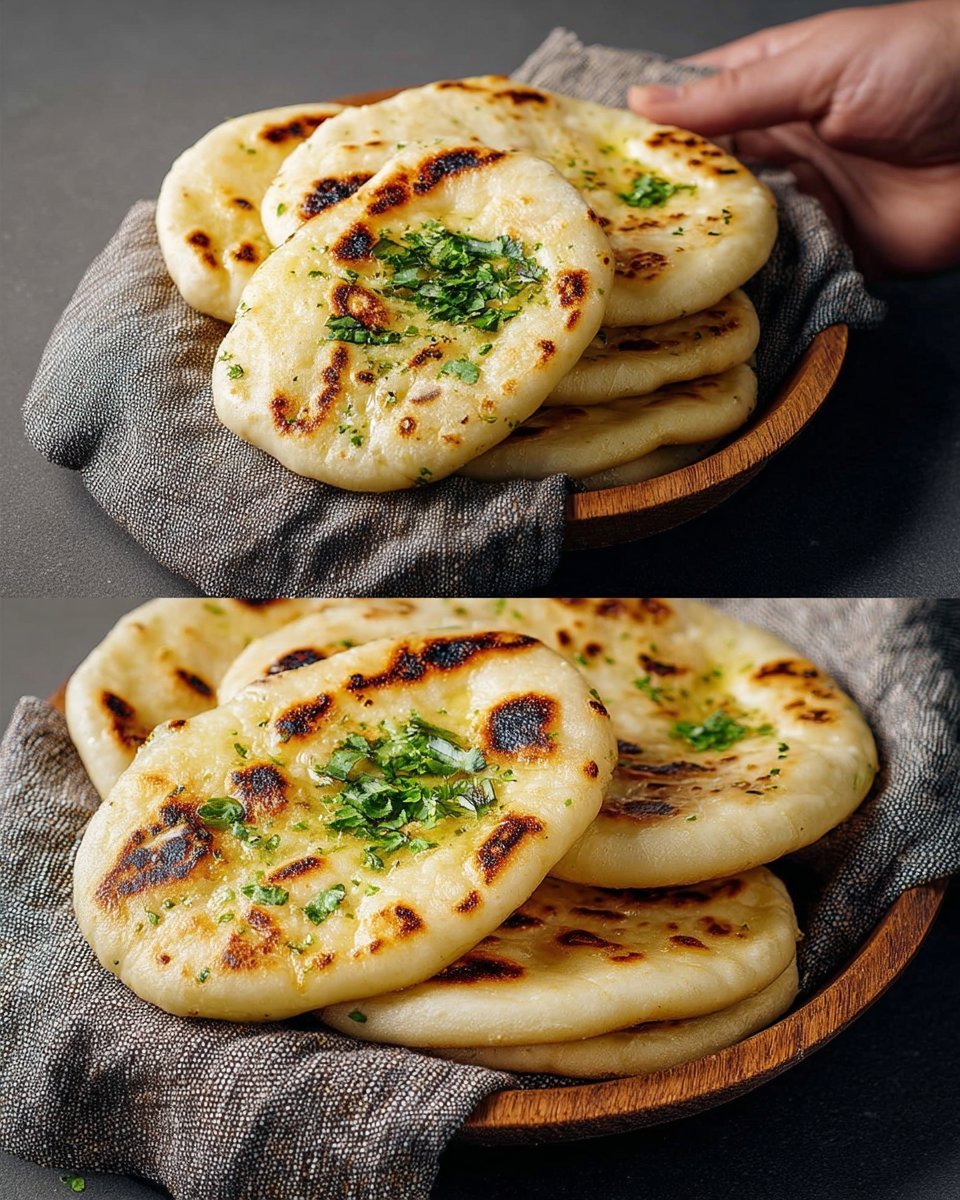
Easy Mini Butter Naan: A Cozy Weeknight Delight
There’s something magical about the smell of freshly baked naan wafting through the kitchen, isn’t there? It takes me back to family gatherings around the table, where laughter and the clinking of dishes create a symphony of love and warmth. I remember the first time I attempted to make naan. Oh boy, let me tell you, it was an adventure! Flour everywhere, dough sticking to my hands, and let’s not even talk about my first batch of “naan” that came out resembling burnt frisbees. Oops! But the moment I took my second attempt out of the oven, all golden and pillowy, my heart melted like the butter I brushed on top of it.
This Mini Butter Naan recipe is not just about making bread; it’s about creating moments that feel like a warm hug. It’s that comforting food that brings together the chaos of your day and the simple joys of cooking. Perfect for those easy weeknight dinners when you want something healthy yet indulgent, or when you’re prepping a feast for a get-together. Plus, mini means it fits everyone’s portion control—admit it, mini versions are just way cuter!
So grab your apron and let’s dive into the delightful world of Mini Butter Naan. With ingredients like simple all-purpose flour and a few pantry staples, you’ll find this recipe to be a go-to in your kitchen chaos.
Why You’ll Love This Recipe
-
Ease of Preparation: Seriously, you don’t need to be a seasoned chef to pull this off. It’s super straightforward and honestly, so forgiving!
-
Comfort Food: There’s a reason naan is a staple in many households. It’s warm, soft, and, let’s face it, the buttery goodness makes everything better.
-
Perfect Leftovers: If you have any left after that hungry dinner crowd (let’s hope so!), they reheat beautifully for lunch. Just pop them back on a pan for a few minutes, and voilà!
-
Picky-Eater Approved: You know that feeling when you make something and everyone just dives in, no questions asked? That’s the magic of naan—perfect for satisfying all ages and tastes.
-
Meal-Prep Win: Perfect for your meal planning chicken adventures! You can whip up a batch and freeze them to elevate your healthy meal plans for two.
-
Fill Your Home with Deliciousness: The aroma of warm naan cooking is one of life’s little pleasures. Pair it with your favorite curry or simply slather some butter and enjoy!
What Makes This Recipe Special?
What sets this Mini Butter Naan apart is not just its irresistibly soft texture or the buttery finish but the memories that come flooding back with each bite. This recipe has been a staple in my home, where we could dip, scoop, and enjoy together.
Furthermore, the sense of accomplishment after successfully kneading and shaping these little pillows of joy is unmatched! Plus, for those nights when you just want a cozy evening binge-watching your favorite series, having freshly baked naan to snuggle up with—that’s needed self-care right there.
Ingredients
-
2 cups all-purpose flour: This is your main base. I usually grab a good brand that gives me a nice rise. Don’t cheap out here; go for quality!
-
1/2 teaspoon baking powder: This is what helps our naan puff up and become fluffy. If you forget this, you might end up with some flatbread that wouldn’t impress anyone.
-
1/2 teaspoon salt: A must for flavor. Nobody wants bland bread, am I right?
-
2 tablespoons yogurt: I love using Greek yogurt for a creamier texture. It also helps add a slight tanginess while making the naan soft.
-
1 tablespoon oil: Any neutral oil works here, but I lean towards olive or canola. This adds richness to the dough.
-
Warm water (as needed): The water brings it all together. You’re aiming for a soft but not sticky dough.
-
Butter (for brushing): Is this optional? Absolutely not. Brush that melted goodness on top for maximum flavor.
-
Chopped cilantro (for garnish, optional): A sprinkle of freshness—perfect for those who like a pop of color and flavor!
Personal Tips
-
Don’t skip the resting time: Letting the dough rest makes a huge difference in texture. It allows the gluten to relax, making it easier to roll out.
-
Airy is good: When cooking, watch for those delightful bubbles forming. That’s when you know you’re doing it right!
-
Oops moments: If your dough is too sticky, just sprinkle a bit of flour as you knead it until it reaches the right consistency. No harm done!
How to Make It Step-by-Step
Step 1: Mixing the Dry Ingredients
In a big bowl (seriously, make it large enough to avoid flour explosions), combine your 2 cups of all-purpose flour, 1/2 teaspoon of baking powder, and 1/2 teaspoon of salt. I always give this a quick whisk just to aerate everything. It’s good to feel that flour dance around—talk about a workout!
Step 2: Adding Moisture
Next, add 2 tablespoons of yogurt and 1 tablespoon of oil to the mix. Now, with your hands (or a fork if you want to feel fancy), mix until it becomes crumbly. You want to feel like you’re creating a sandcastle at the beach with this texture; it should hold semi-together but still feel crumbly.
Step 3: Forming the Dough
Gradually add warm water, a little at a time. I usually start with about 1/4 cup and then add more as needed. Knead the dough until it’s soft but not sticky—about 5–7 minutes should do the trick. Honestly, my arms sometimes start to burn, but it’s worth it in the end.
Step 4: Let It Rest
Cover the dough with a damp cloth (it feels luxurious, I promise) and let it rest for 30 minutes. This is your perfect time to catch up on that cooking show or pour yourself a glass of wine (or maybe some chai, if you’re more in the mood for spices). Just imagine the anticipation!
Step 5: Shaping the Naan
After waiting oh-so-patiently (and possibly testing your willpower with snacks), divide your dough into small balls—about the size of your palm. On a floured surface, roll each ball into a mini naan shape. Don’t stress about perfection; a little irregular shape adds character.
Step 6: Cooking
Now, heat a frying pan over medium-high heat. I’ve had minor freak-outs when the pan’s too hot, so finding that sweet spot is crucial! Place your naan onto the hot pan; watch those bubbles form within minutes. When they do, flip and cook the second side until it’s golden brown, usually around 1–2 minutes.
Step 7: The Butter Bath
As soon as you pull them off the pan, brush with melted butter. Trust me; the more, the better. And here’s a pro tip: Use a brush directly out of the microwave—it’s the small things in life! Finish with a sprinkle of chopped cilantro if you’re feeling extra.
Final Touches
Honestly, the first time I brushed that butter on, I just stood there watching it melt into the naan like a love letter to my taste buds. If you’ve ever had that moment, you know exactly what I mean—pure bliss!
Tips for Best Results
-
Use warm water: Cold water could shock the dough and ruin its fluffiness.
-
No distractions: Baking is a dance that deserves your full attention—even if it’s just you in the kitchen.
-
Experiment with flavors: If you’re feeling wild, add garlic or herbs to the dough for an extra flavor kick.
Ingredient Substitutions & Variations
-
Gluten-Free Option: Use a good quality gluten-free all-purpose flour instead of wheat flour. Just ensure you have a binding agent, like additional yogurt.
-
Vegan Twist: Substitute yogurt with a plant-based yogurt and use coconut oil instead of regular oil and butter.
-
Seasonal Spices: Want to spice it up? Throw in some cumin or even nigella seeds into the dough for a flavorful surprise.
Serving Suggestions
These mini butter naans are begging to be paired with a delightful bowl of curry. I mean, what’s a naan without a side of something saucy to scoop, right? They also make a lovely side for soups, stews, or even as a base for a delicious wrap. Trust me, this and a rom-com is perfection on a cozy night in.
If you’re feeling fancy, why not whip up a simple yogurt dip or a spicy chutney to accompany your naan? Seriously, the possibilities are endless.
How to Store and Reheat Leftovers
I get it—we’ve all been there. You make a ton of naan and suddenly you realize you’re not feeding an army tonight. To store leftovers, wrap them tightly in foil or place them in an airtight container. They’ll keep in the fridge for about 3–4 days.
When you’re ready to enjoy them again, simply toss them onto a hot pan (no oil needed) for about 1–2 minutes per side. If you fancy more crispiness, a touch of butter wouldn’t hurt. Just avoid that microwave; trust me, we don’t want rubbery naan.
Make-Ahead and Freezer Tips
If you’re any kind of semi-prepped chef, I encourage you to freeze un-cooked mini naan after shaping them! Simply lay them on a baking tray, freeze until solid, and then transfer them to a freezer-safe bag. When you want to enjoy your naan, just take them out frozen and cook them directly on the pan—no defrost necessary.
Common Mistakes to Avoid
-
Too Much Flour: When rolling, resist the urge to dump tons of flour onto your work surface. This can dry out the dough.
-
Hot Pan Freakouts: If it’s too hot, you’ll burn the naan before it even has a chance to bubble up. Patience is key!
-
Ignoring Rest Time: That 30 minutes isn’t just for you to scroll through Instagram; it’s essential for great texture!
Frequently Asked Questions (FAQ)
1. Can I make this bread without yogurt?
Absolutely, but it’s a key ingredient for softness. You could substitute it with more oil or a splash of milk.
2. How do I know when the naan is cooked?
Look for those lovely bubbles and a golden color on both sides. It’s like a very basic cooking version of ‘Goldilocks’—not too soft, not too burnt, just perfect!
3. Can I cook naan on the grill?
Yes! If you’re feeling adventurous, just do a little dance around the heat and enjoy that smoky flavor.
4. What else can I use naan for?
Endless possibilities: pizza bases, wraps, or even to enjoy with dips during your next movie night!
5. Can I make these naan in bulk for meal prep?
Definitely! This is perfect for your high protein meal plan. Just remember to store properly for best results.
Cooking Tools You’ll Need
- Large mixing bowl
- Whisk
- Rolling pin
- Frying pan or griddle
- Brush for butter
Final Thoughts
As I sit down to write this, I can’t help but think how tiny gestures in the kitchen have brought so much warmth and joy—not just to my home, but to others who gather around my table. This Mini Butter Naan has woven itself into our family dinners and quiet evenings alike.
If you enjoyed this recipe, don’t forget to save it on Pinterest or share it with a friend! I can’t wait to see how you make it your own! Happy cooking!

Mini Butter Naan
Ingredients
Dough Ingredients
- 2 cups all-purpose flour Use a good quality brand for a nice rise.
- 1/2 teaspoon baking powder Helps the naan puff up and become fluffy.
- 1/2 teaspoon salt Essential for flavor.
- 2 tablespoons yogurt Greek yogurt is recommended for creaminess.
- 1 tablespoon oil Any neutral oil works; olive or canola recommended.
- warm water as needed warm water Brings the dough together for a soft, non-sticky texture.
- butter as needed butter (for brushing) Essential for maximum flavor.
- to taste optional chopped cilantro For garnish.
Instructions
Preparation
- In a large bowl, combine the flour, baking powder, and salt. Whisk to combine.
- Add the yogurt and oil, mixing until crumbly.
- Gradually add warm water, kneading until soft but not sticky, about 5–7 minutes.
- Cover the dough with a damp cloth and let it rest for 30 minutes.
Cooking
- After resting, divide the dough into small balls and roll each into a mini naan shape on a floured surface.
- Heat a frying pan over medium-high heat. Cook the naan on one side until bubbles form, then flip and cook until golden brown (1–2 minutes).
- Brush immediately with melted butter after removing from the pan. Garnish with chopped cilantro if desired.


